Comments
0 comments have been posted.Sacramento Digs Gardening to your inbox.
Food in My Back Yard Series
April 22: Should you stock up on fertilizer? (Yes!)
April 15: Grow culinary herbs in containers
April 8: When to plant summer vegetables
April 1: Don't be fooled by these garden myths
March 25: Fertilizer tips: How to 'feed' your vegetables for healthy growth
March 18: Time to give vegetable seedlings some more space
March 11: Ways to win the fight against weeds
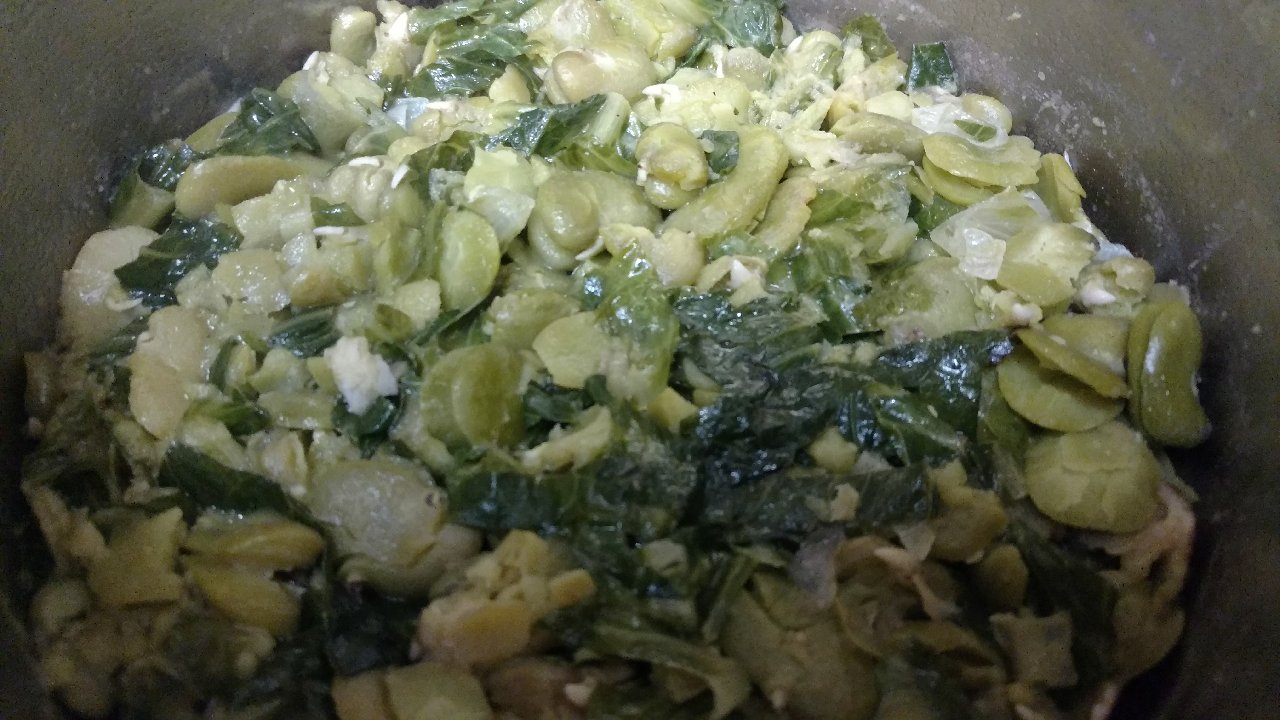
March 4: Potatoes from the garden
Feb. 25: Plant a fruit tree now -- for later
Feb. 18: How to squeeze more food into less space
Feb. 11: When to plant? Consider staggering your transplants
Feb. 4: Starting in seed starting
Local News

Thanks to Our Sponsor!

Sites We Like
Garden Checklist for week of April 27
Once the clouds clear, get to work. Spring growth is in high gear.
* Set out tomato, pepper and eggplant transplants.
* From seed, plant beans, beets, cantaloupes, carrots, corn, cucumbers, melons, pumpkins, radishes and squash. Plant onion sets.
* In the flower garden, plant seeds for asters, cosmos, celosia, marigolds, salvia, sunflowers and zinnias. Transplant petunias, zinnias, geraniums and other summer bloomers.
* Plant perennials and dahlia tubers for summer bloom. Late April is about the last chance to plant summer bulbs, such as gladiolus and tuberous begonias.
* Transplant lettuce and cabbage seedlings.
* Weed, weed, weed! Don’t let unwanted plants go to seed.
* April is the last chance to plant citrus trees such as dwarf orange, lemon and kumquat. These trees also look good in landscaping and provide fresh fruit in winter.
* Feed citrus trees with a low dose of balanced fertilizer (such as 10-10-10) during bloom to help set fruit. Keep an eye out for ants.
* Apply slow-release fertilizer to the lawn.
* Thoroughly clean debris from the bottom of outdoor ponds or fountains.
* Start thinning fruit that's formed on apple and stone fruit trees -- you'll get larger fruit at harvest (and avoid limb breakage) if some is thinned now. The UC recommendation is to thin fruit when it is about 3/4 of an inch in diameter. Peaches and nectarines should be thinned to about 6 inches apart; smaller fruit such as plums and pluots can be about 4 inches apart. Apricots can be left at 3 inches apart. Apples and pears should be thinned to one fruit per cluster of flowers, 6 to 8 inches apart.
* Azaleas and camellias looking a little yellow? If leaves are turning yellow between the veins, give them a boost with chelated iron.
* Trim dead flowers but not leaves from spring-flowering bulbs such as daffodils and tulips. Those leaves gather energy to create next year's flowers. Also, give the bulbs a fertilizer boost after bloom.
* Pinch chrysanthemums back to 12 inches for fall flowers. Cut old stems to the ground.
* Mulch around plants to conserve moisture and control weeds.
 Powered by California Local