Recipe: No-waste method lets you customize a kitchen staple
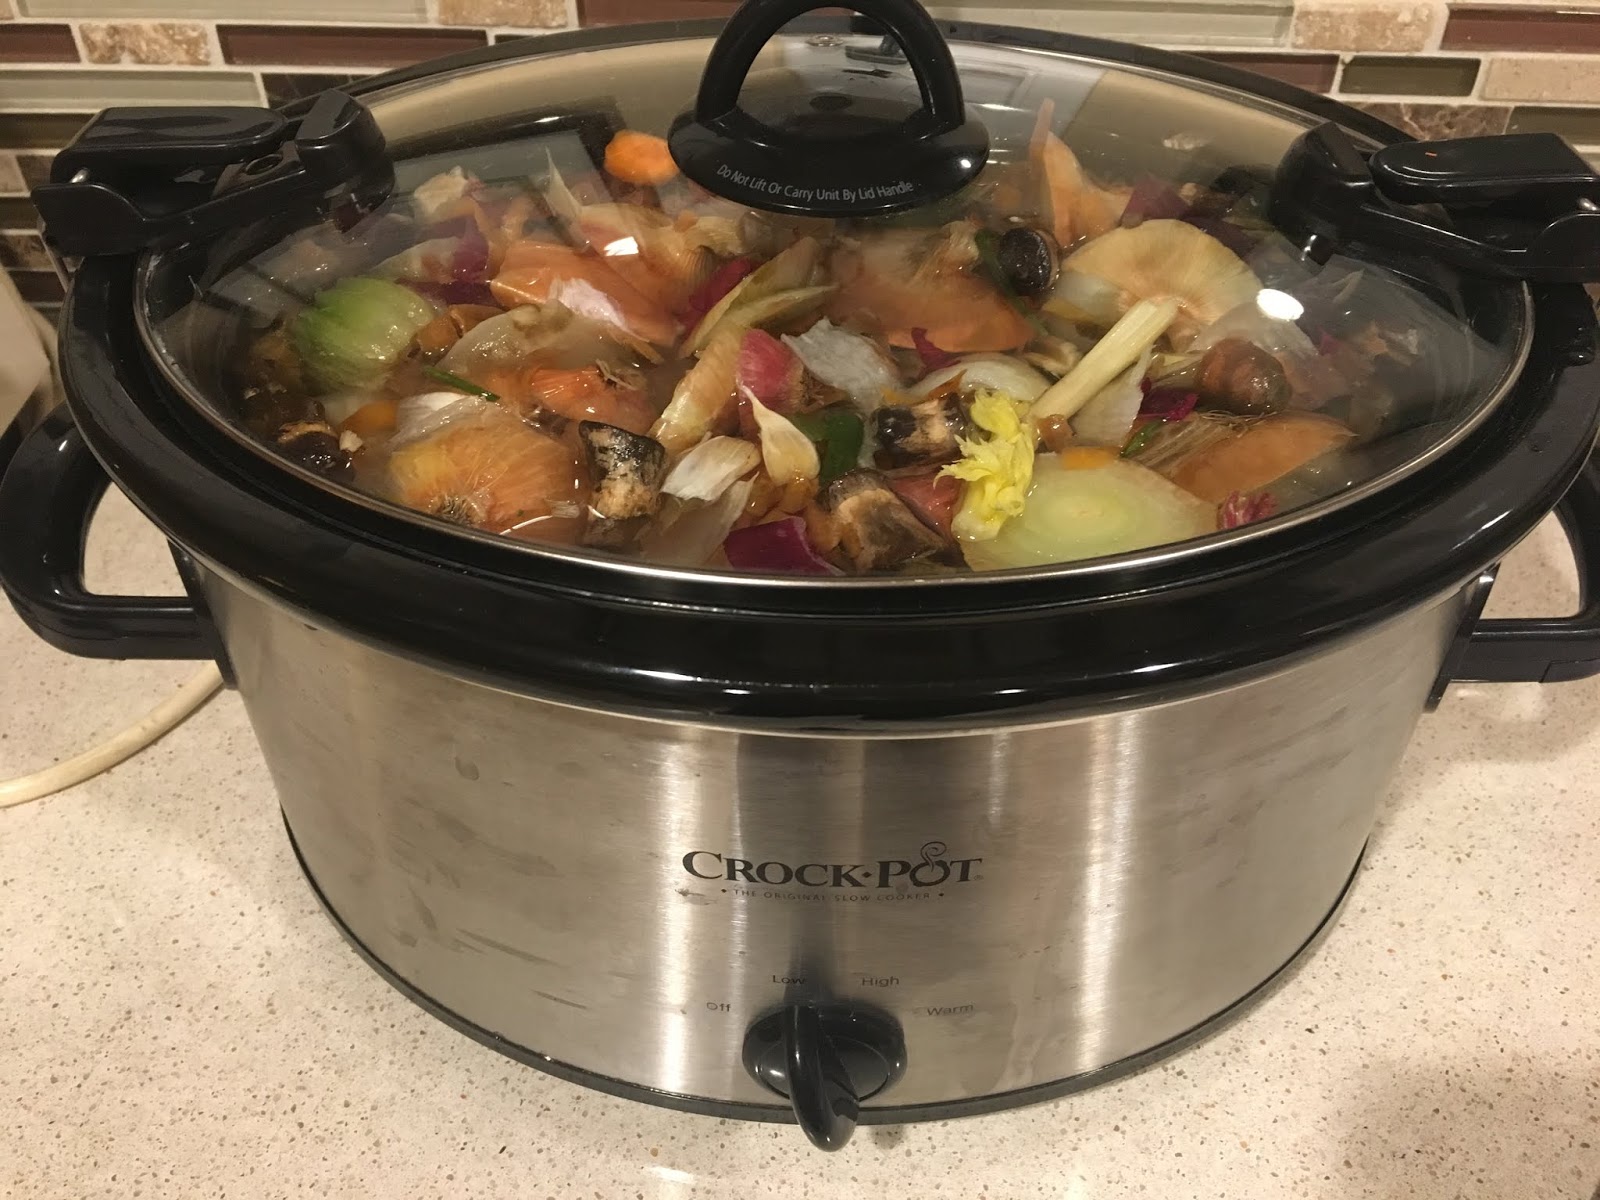 |
| Great broth in the making: Veggie scraps, water and heat. (Photos: Kathy Morrison) |
It’s finally the time of year when I don’t mind heating up the kitchen to make soup, stew or risotto.
I like chicken broth just fine, but prefer to use vegetable stock or broth for these type of dishes. The handy aseptic packages in the grocery store hide a lot of information, however. Is this kind tomato-y or more oniony? How earthy is that broth that has mushrooms listed in the ingredients?
The easy answer to this (no surprise) is to make your own. The recipe below is more method than prescription, as you’ll see.
Since we’re all gardeners or aspiring gardeners here, I’m going to assume you’re already composting your kitchen scraps. Many of those scraps can be used to flavor vegetable broth for several dishes -- and they still can be composted afterwards.
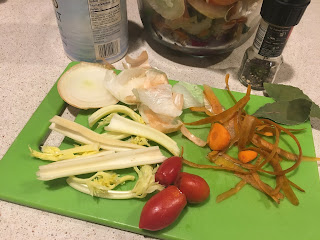
The trick is to use your freezer, and to assess every vegetable bit before it hits the compost bin. Onion tops? Yes. Dried-out garlic cloves? Yes again. Carrot peelings? Absolutely. Other favorites in my house include mushroom stems, celery leaves and ends, limp tomatoes and wilted spinach. I keep them in a gallon freezer bag and add to it over the course of several weeks. Sometimes I have two bags going, for different ingredients.
|
Comments
0 comments have been posted.Sacramento Digs Gardening to your inbox.
Local News

Thanks to our sponsor!

Sites We Like
Garden Checklist for week of May 12
Get your gardening chores and irrigation done early in the day before temperatures rise.
* Plant, plant, plant! It’s prime planting season in the Sacramento area. Time to set out those tomato transplants along with peppers and eggplants. Pinch off any flowers on new transplants to make them concentrate on establishing roots instead of setting premature fruit.
* Direct-seed melons, cucumbers, summer squash, corn, radishes, pumpkins and annual herbs such as basil.
* Harvest cabbage, lettuce, peas and green onions. This heat will cause leafy greens and onions to flower; pick them before they bolt.
* In the flower garden, direct-seed sunflowers, cosmos, salvia, zinnias, marigolds, celosia and asters.
* Plant dahlia tubers. Other perennials to set out include verbena, coreopsis, coneflower and astilbe.
* Transplant petunias, marigolds and perennial flowers such as astilbe, columbine, coneflowers, coreopsis, dahlias, rudbeckia and verbena.
* Keep an eye out for slugs, snails, earwigs and aphids that want to dine on tender new growth.
* Feed summer bloomers with a balanced fertilizer.
* For continued bloom, cut off spent flowers on roses as well as other flowering plants.
* Got fruit trees? If you haven't already done so, thin orchard fruit such as apples, peaches, pears, pluots and plums before they grow too heavy, breaking branches or even splitting the tree. Leave the largest fruit on the branch, culling the smaller ones, and allow for 5 to 6 inches (or a hand's worth) between each fruit.
* Thin grape bunches, again leaving about 6 inches between them. For the remaining bunches, prune off the "tail" end, about the bottom third of the bunch, so that the plant's energy is concentrated in the fruit closest to the branch.
* As spring-flowering shrubs finish blooming, give them a little pruning to shape them, removing old and dead wood. Lightly trim azaleas, fuchsias and marguerites for bushier plants.
* Add mulch to the garden to help keep that precious water from evaporating. Mulch also cuts down on weeds. But don’t let it mound around the stems or trunks of trees or shrubs. Leave about a 6-inch to 1-foot circle to avoid crown rot or other problems.
 Powered by California Local


